-
With billions of Windows users worldwide, Microsoft constantly rolls out new updates to improve performance and security. However, as the number of users and updates increases, the chances of running into errors rise as well.
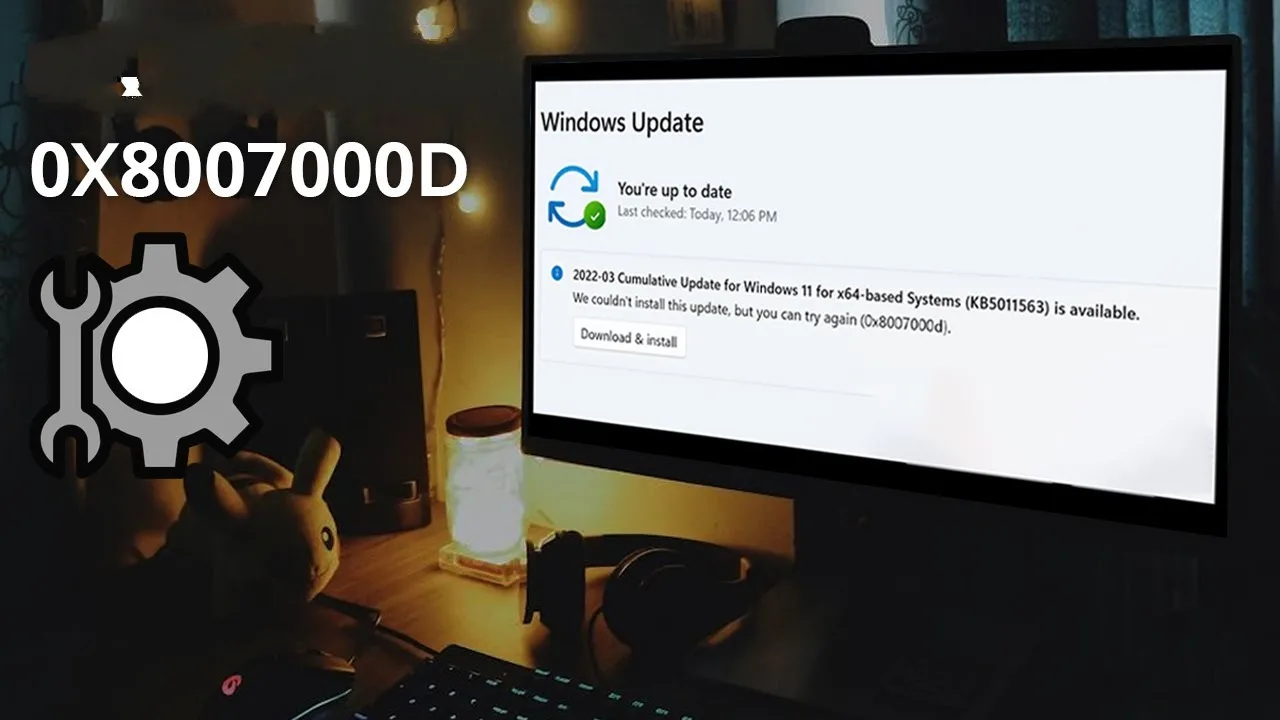
One of the most common problems users face during updates is the 0x8007000d Windows Update error. This error typically occurs when essential update components are corrupted, missing, or incomplete. Let’s go over all the effective methods to fix it.
Run the Windows Update Troubleshooter
The first step to resolving this issue is to use the built-in Windows Update Troubleshooter. It can automatically detect and repair common update-related problems.
-
On Windows 10, go to Start > Settings > Update & Security > Troubleshoot, then select Additional troubleshooters. Under Get up and running, click Windows Update > Run the troubleshooter.
-
On Windows 11, navigate to Start > Settings > System > Troubleshoot > Other troubleshooters, and under Most frequent, click Windows Update > Run.
-
When the troubleshooter finishes, restart your PC and check for updates again.
To do this manually:
-
On Windows 10: Start > Settings > Update & Security > Windows Update > Check for updates.
-
On Windows 11: Start > Settings > Windows Update > Check for updates.
Clear the Windows Update Cache
A corrupted update cache can often trigger the 0x8007000d error. Clearing it usually resolves the problem.
-
Press Win + R, type
services.msc, and hit Enter. -
Locate Windows Update, right-click it, and select Stop.
-
Go to C:WindowsSoftwareDistribution and delete all files and folders inside.
-
Go back to the Services window, right-click Windows Update, and select Start.
-
Now try updating again.
Use the Windows Update Assistant
If the error persists, you can use Microsoft’s Update Assistant tool. It provides a more stable way to install the latest Windows version.
-
Download the Update Assistant for Windows 10 or Windows 11.
-
Launch the tool and follow the on-screen steps to upgrade to the newest version.
Since this is an official Microsoft utility, it’s completely safe to use.
Try the Media Creation Tool
Another effective Microsoft utility is the Media Creation Tool, which can help repair update-related issues or perform a clean installation.
-
Download the Media Creation Tool from the official Microsoft website for Windows 10 or Windows 11.
-
Open the tool and select Upgrade this PC now.
-
Follow the on-screen instructions to complete the update.
Reset Windows Update Components
If none of the above methods work, try manually resetting the update services. This will reinitialize all update-related components such as BITS, Windows Update Service, MSI Installer, and Cryptographic Services.
-
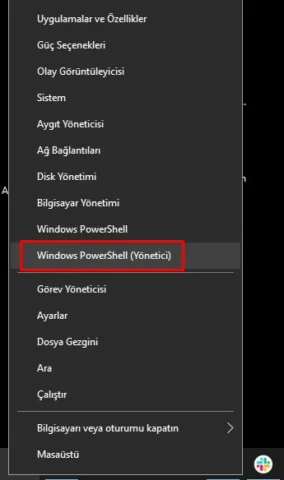
Search for Command Prompt, right-click it, and select Run as administrator.
-
Enter the following commands one by one, pressing Enter after each line:
-
Restart your computer and try checking for updates again.
Disable Your VPN
VPN connections can sometimes interfere with Microsoft’s update servers. If you’re using a VPN, try disabling it temporarily.
-
Go to Settings > Network & Internet > VPN.
-
Select your VPN connection and click Disconnect.
-
If you use a dedicated VPN app, open it and toggle the Disconnect or Turn Off option.
After disabling the VPN, try updating Windows again.
Use the SFC /scannow Command
The System File Checker (SFC) tool can scan your system for corrupted or missing files and automatically repair them — including essential DLL files used by Windows Update.
-
Search for Command Prompt, right-click it, and select Run as administrator.
-
Type the following command and press Enter:
-
Wait for the scan to complete.
If the tool finds corrupted system files, it will automatically replace them with healthy versions.
Even if no issues are found, it confirms that your system files are intact, allowing you to focus on other potential causes.

-
-
Here’s the SEO-optimized English rewrite of that new section, crafted in the same tone and structure as the previous article — fully ready to merge with your “How to Fix the 0x8007000d Windows Update Error” post:
Run the SFC /scannow Command
The System File Checker (SFC) command is one of the most effective built-in tools for fixing Windows Update errors. It scans your system for corrupted or missing files and automatically replaces them with healthy versions from Windows’ local cache.
-
Open Command Prompt with administrator privileges. You can do this by typing “cmd” in the Start menu, right-clicking Command Prompt, and choosing Run as administrator.
-
In the Command Prompt window, type the following command and press Enter:
-
Leave the window open until the process is complete. Depending on your hardware and system speed, this can take several minutes.
When the scan finishes, you’ll see one of the following messages:
-
“Windows Resource Protection did not find any integrity violations.”
This means no system files are corrupted. -
“Windows Resource Protection found corrupt files and successfully repaired them.”
The tool detected and fixed damaged files. Log details can be found here:
C:WindowsLogsCBSCBS.log -
“Windows Resource Protection found corrupt files but was unable to fix some of them.”
If you see this message, restart your computer in Safe Mode and run the command again.
If the issue persists, try executing the command using your Windows installation media or recovery drive.
If the SFC tool successfully repairs your files, restart your computer — even if it doesn’t prompt you to do so — to ensure all changes are applied properly.
Use the DISM Command (Deployment Image Servicing and Management)
If the SFC command fails to repair certain system files, the next step is to use the DISM tool.
The Deployment Image Servicing and Management (DISM) utility repairs corrupted Windows images and restores critical update components, ensuring that SFC can run successfully afterward.How DISM Works
DISM downloads fresh copies of system files from Microsoft’s online servers (the same source used by Windows Update) and uses them to replace any damaged or missing ones. Because of this, an active internet connection is required.
Steps to Run the DISM Command
-
Open Command Prompt, PowerShell, or Windows Terminal as an administrator.
-
Type the following command and press Enter:
-
Wait patiently for the process to complete. It may take 10 minutes or longer depending on your internet speed and the number of damaged files.
If the progress bar seems to pause around 20% or 40%, do not close the window — it’s still running in the background. -
Once the scan finishes, restart your computer.
-
After rebooting, run the SFC /scannow command again to confirm that all system files are repaired.
Using both DISM and SFC together can resolve even the toughest Windows Update issues, including the 0x8007000d error.
-
For social media growth tools, see our Free TikTok Followers on FreeDownloadTools.


